After gifting a friend of mine one of these bags, she promptly ordered another one for her knitting and crochet supplies. I rummaged through my drawers and found a beautiful and colorful Da Gama fabric to use for the outside of the bag. Went to the shops to buy coordinating fabrics as well as all the other supplies needed and started cutting and labelling the 57 pieces of fabric, corlene, batting and vinyl needed to stitch a bag.
I always use a serpentine stitch with a double needle to do the quilting with a variegated thread.
After finishing off the outside of the bag with an outer pouch and ribbon loops for attaching the handles,
it was time to move on to the inside and stitch both pockets.
Here the bag is opened up and below when zipped up.
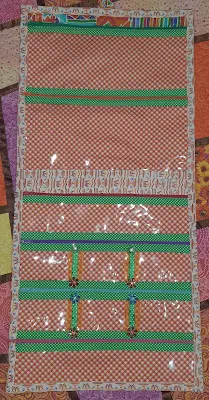
The last item to stitch, was the bag insert which attach to the Velcro inside the main bag.
With the main fabric being so colorful, I bought a whole rainbow of zips which might be a drawback as it means multiple thread changes.
I just loved stitching this bag as nothing is really difficult to construct although it looks complex. I must also complement our local Pfaff/Husqvarna dealer whose instructions are still clear to follow even 13 years after stitching the original bags - this post refers.


